Group Assignment
This week’s tasks were:
- Characterize the Dazu laser cutter’s kerf and cutting parameters using a comb test.
- Learn basic operation of the vinyl cutter and complete a simple cut.
- Prototype my "Fu + triangle screen" front panel for a future electronics box.
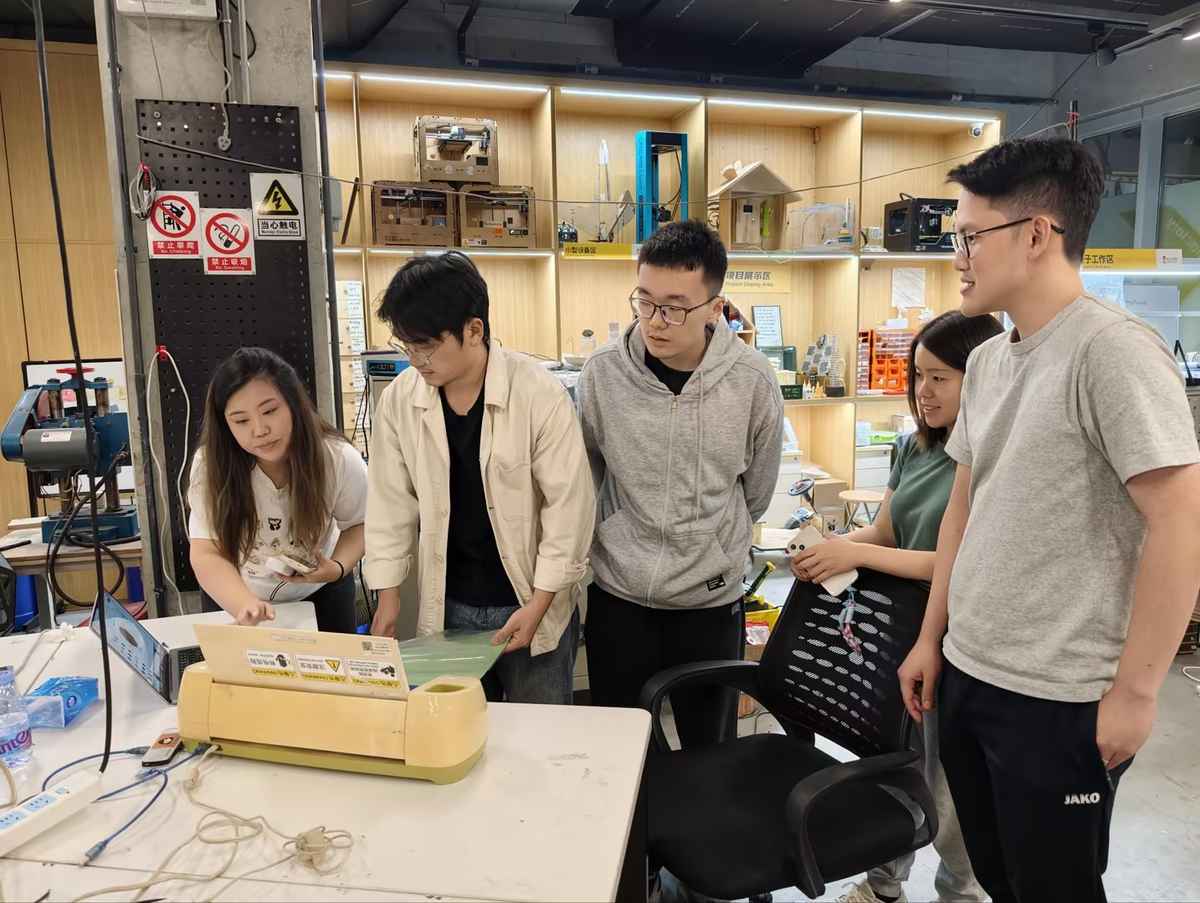
This week, I started to work the project in Chaihuo Makerspace. Chaihuo is Shenzhen's first makerspace (second in China). I first heard about it 10 years ago at Maker Faire Shenzhen.
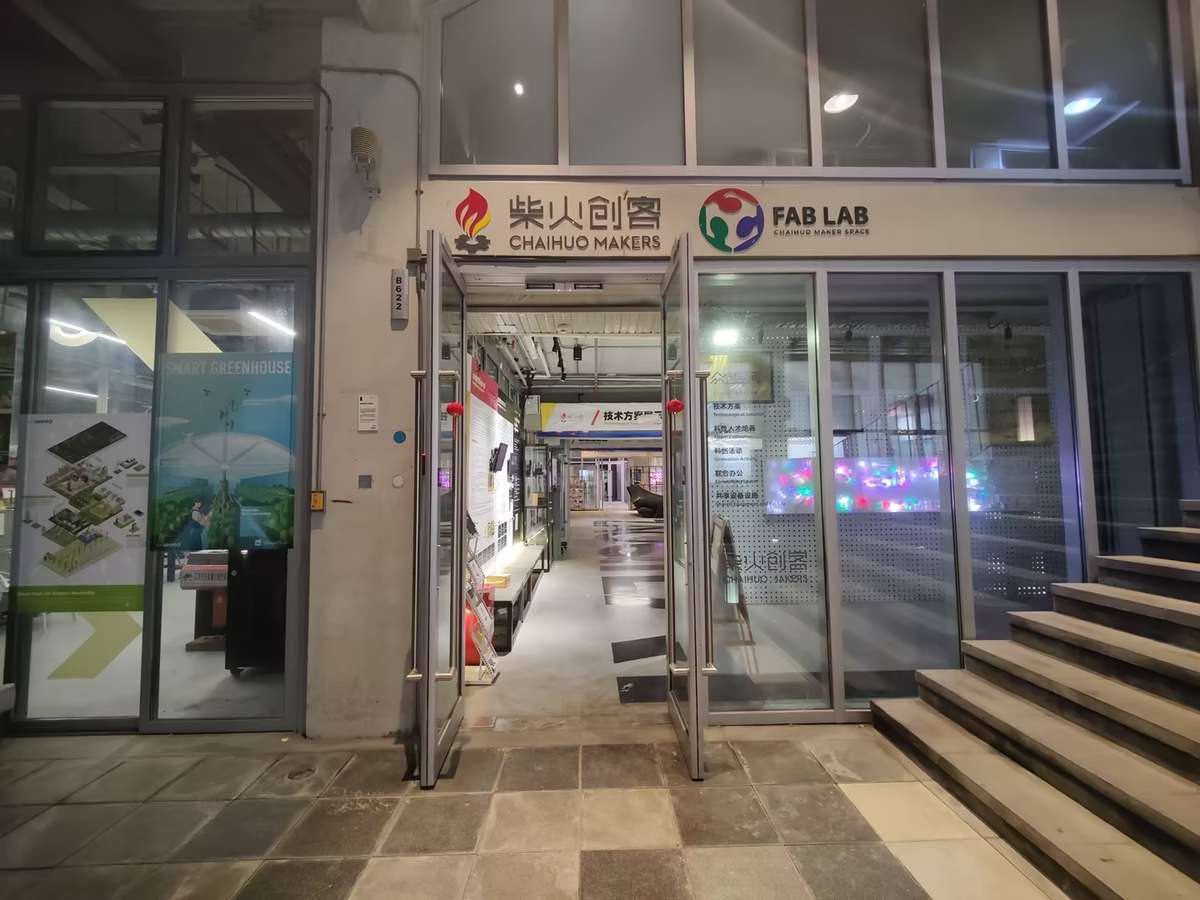
Today, it's still a dynamic hub with 24/7 access, it could use facial recognition to get entrance of the gate, and using smartphone-controlled lab lights, super convenient.
What excites me most is the ideas constantly emerge here through meetups and hackathons. Now it's my turn to build something here.
Machine & Material Setup
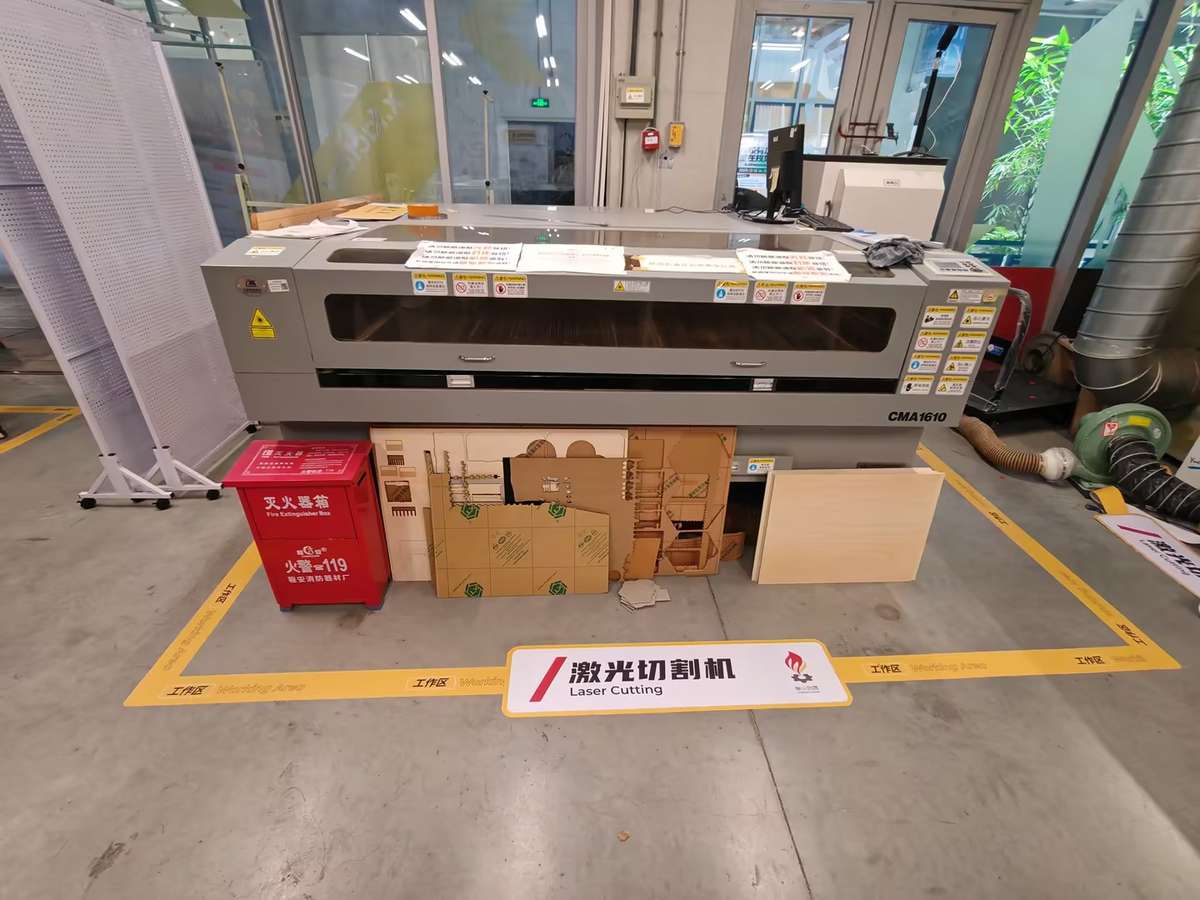
We used the Dazu laser cutter (software: SmartCarve 4.3). I selected ~6mm waste wood to test without wasting material.

Steps:
- Review safety instructions and ventilation.
- Power on machine and exhaust.
- Place wood flat, focus laser head (using manual Z adjustment).
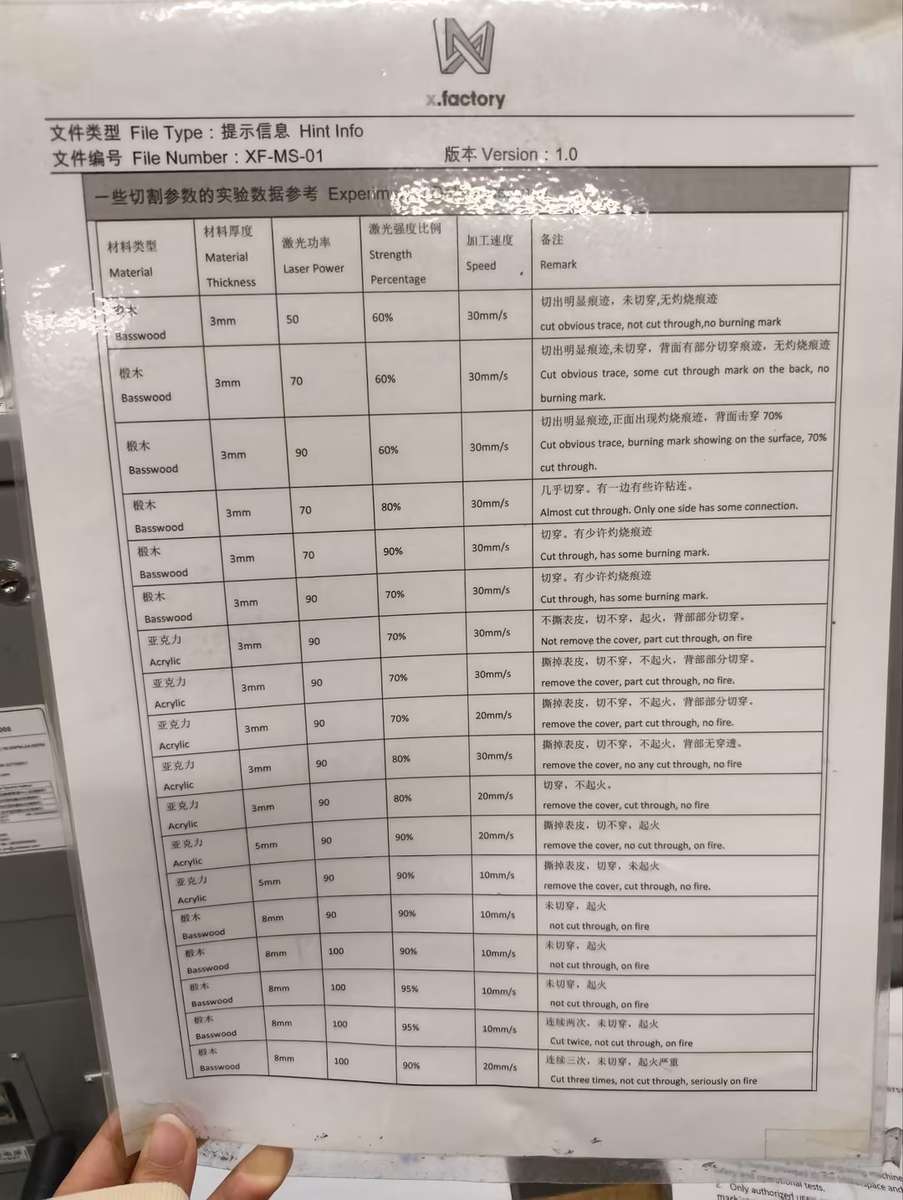
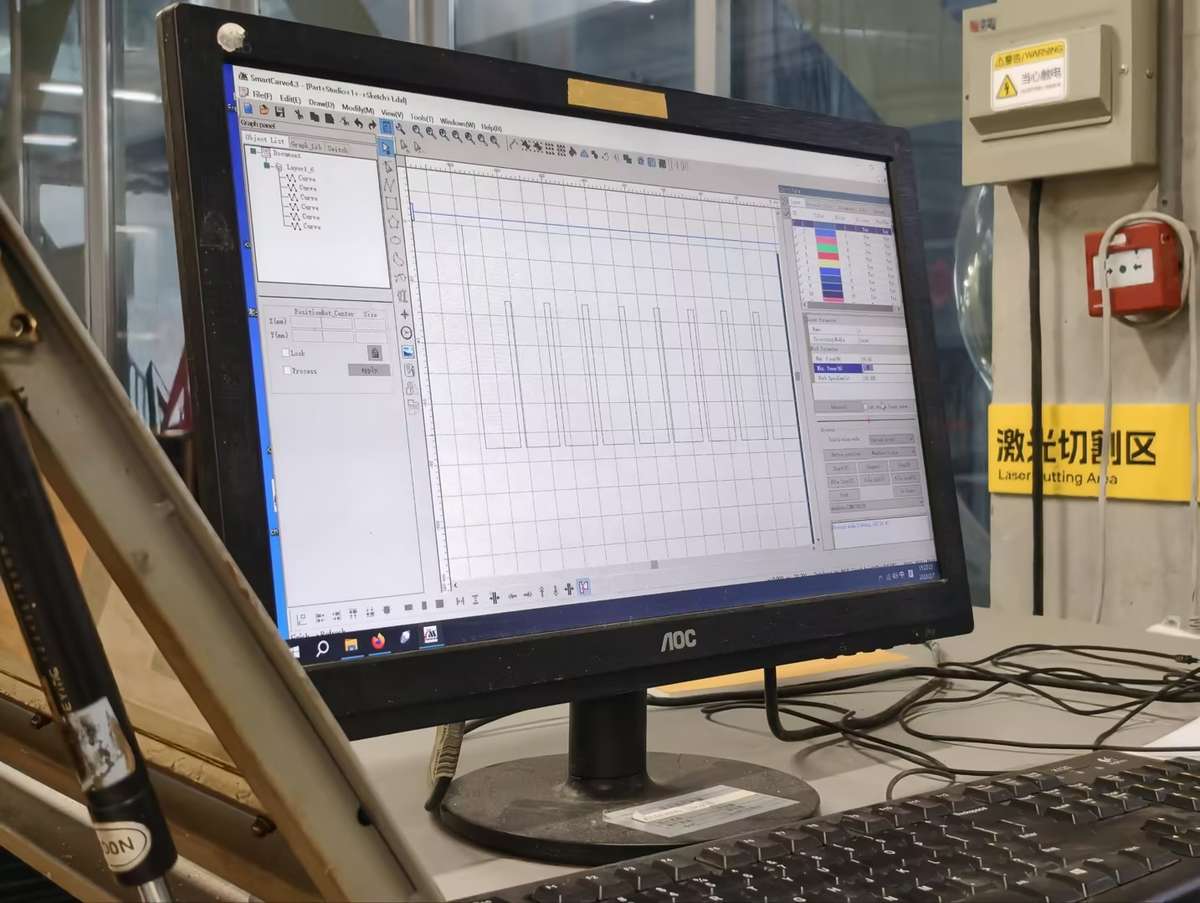
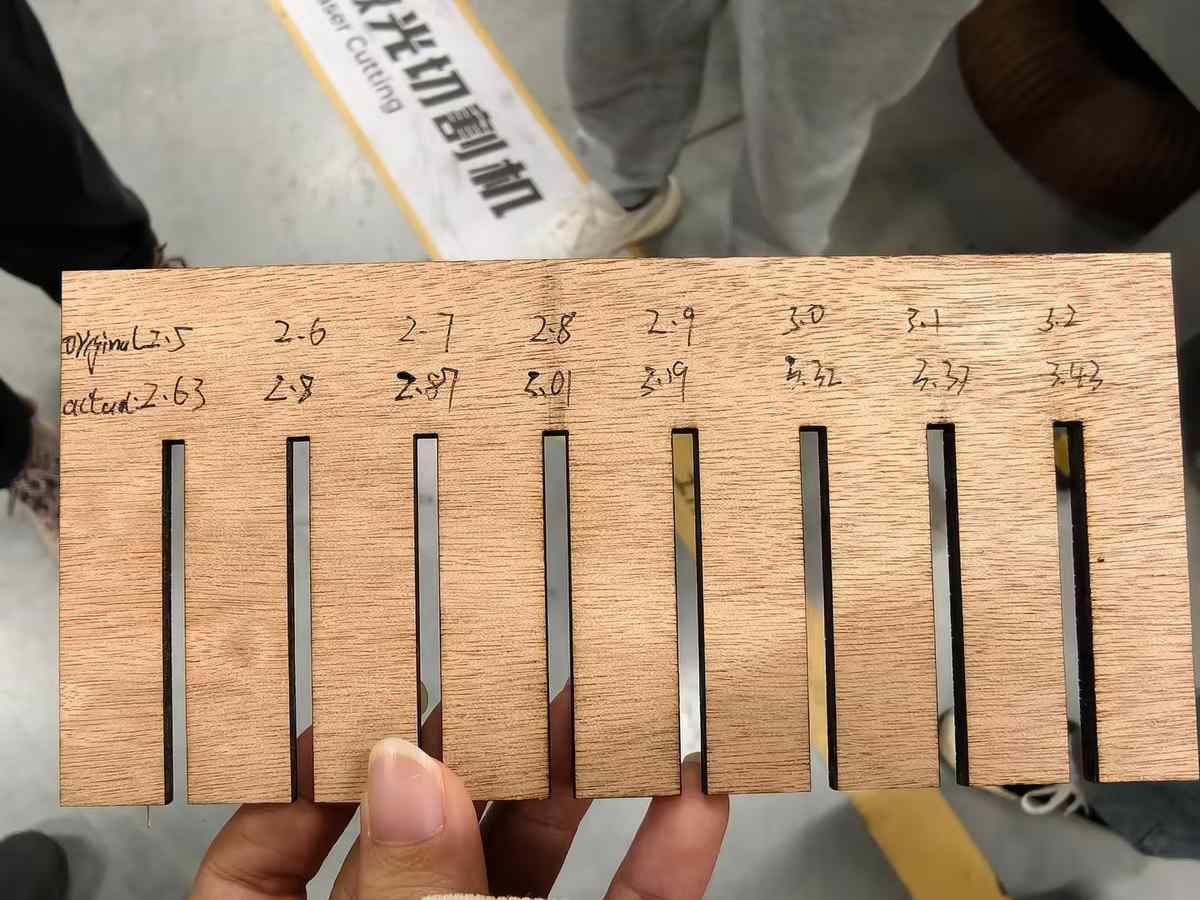
Cutting Parameters Comb design: DXF file with slots from 2.4–3.2mm (0.1mm steps) to measure kerf.
Settings (black lines, single layer): Element Max Power Min Power Speed (mm/s) Frame & slots 80% 50% 30 Framing test confirmed material coverage. Cut took ~2 minutes—comb ejected cleanly, no burns.
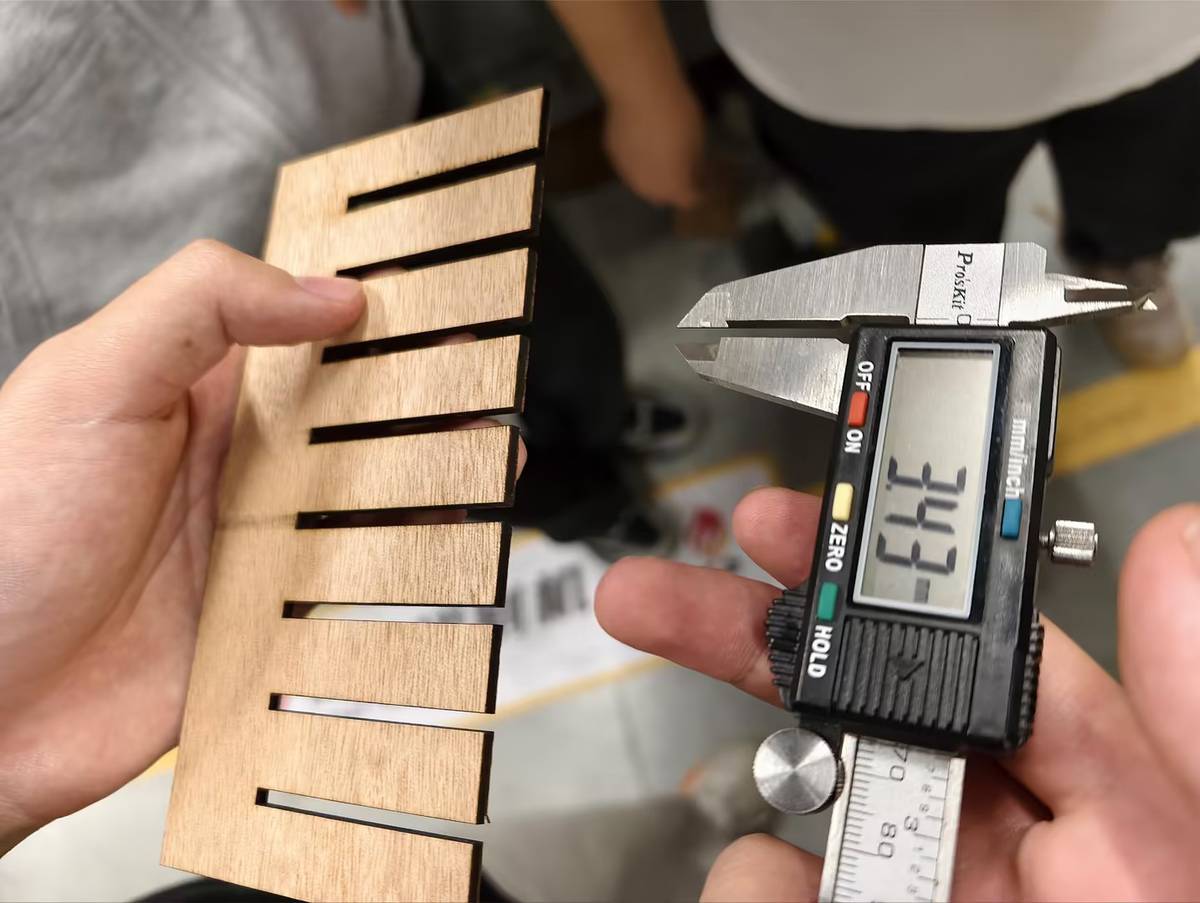
Kerf Measurement We cut combs and tested fits:
- Material thickness: 5.9mm (caliper average from 10 strips).
- Snug fit at 2.75mm slot (actual width post-kerf: ~6.0mm).
- Kerf: 0.15mm (slot + 2×kerf radius ≈ thickness). Range across tests: 0.12–0.20mm. This matches typical CO2 lasers on wood; slower speeds reduce variability.
Vinyl Cutter Introduction Quick test on Cricut machine (via Cricut Design Space):
- Imported simple vector (e.g., logo sticker).
- Vinyl sheet loaded, pressure roller set to medium.
- Cut in 10 seconds; weeded cleanly. Basic but precise for decals. More in future weeks.
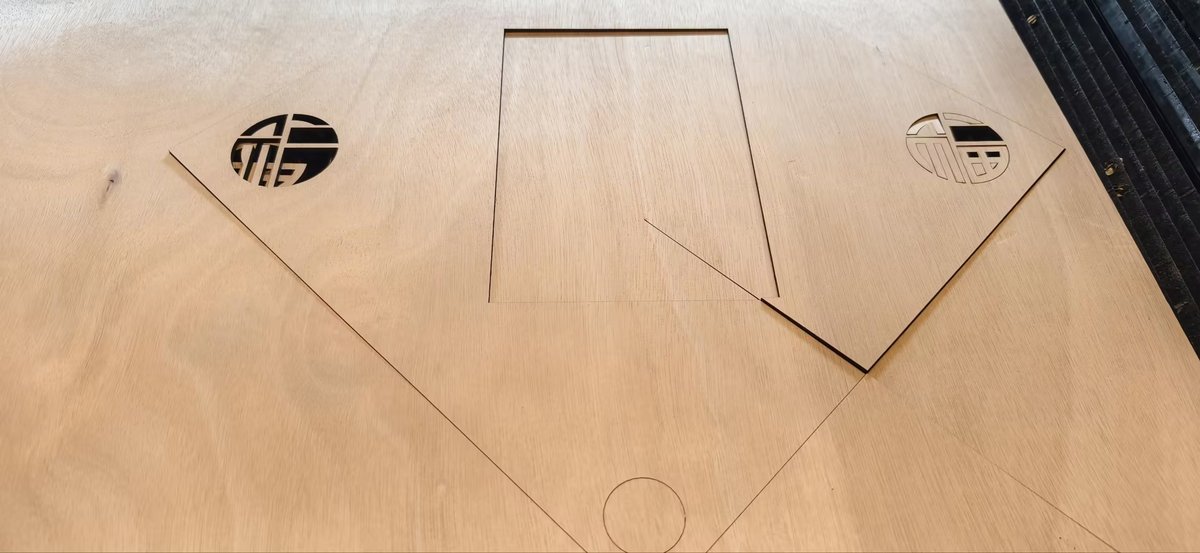
Individual Prototype: "Fu + Screen" Panel
Concept
Normally the Fu is square, with the size from 300mm-600mm, so I decided to choose the minimum size to have a try.
So the Fu will be around 300×300mm, rectangle shape in inside for screen spot to showcase "Fu" characters or the other info.
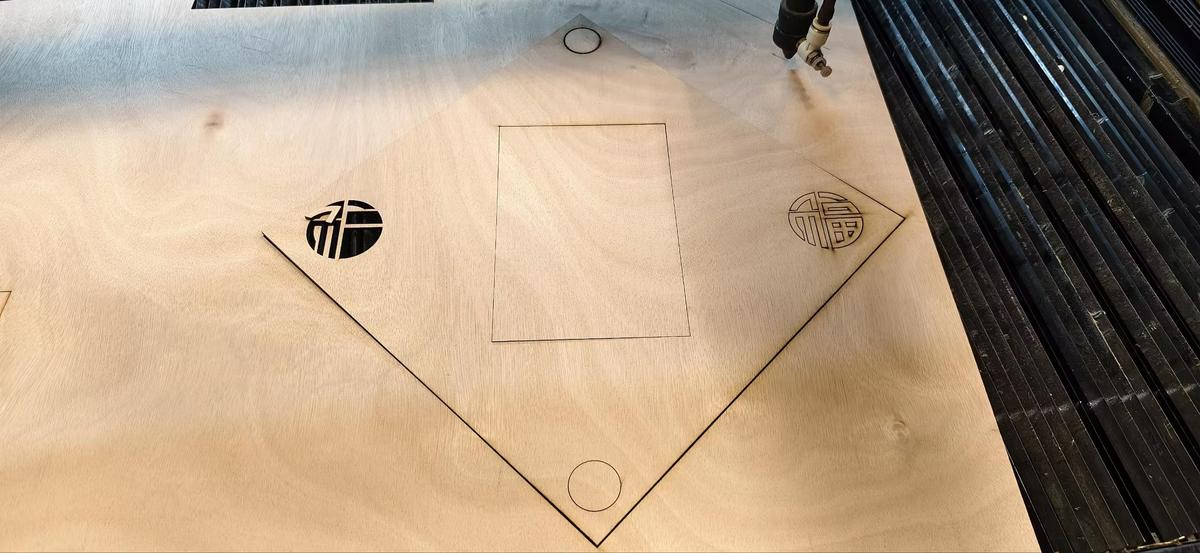
First Try: Designed two fu characters beside the rectangle, and above it I made a hole, would love to using a sling. buttom of that hole will be the switch spot.
Chaihuo Dazu Laser Material: 6mm waste wood. DXF import to SmartCarve 4.3.
- Separate layers:Fu characters: Max 50%, Min 30%, 30 mm/s (engraving test).
- Frame/circles/rectangles: Max 90%, Min 70%, 30 mm/s. Result: Fu engraved well; button holes clean. Frame failed—only 2/4 sides cut through (others shallow score).
Debug:
- Emily suggested 95%/75%—retried, still inconsistent.
- Issues: Wood too thick? Uneven bed? Focus drift?
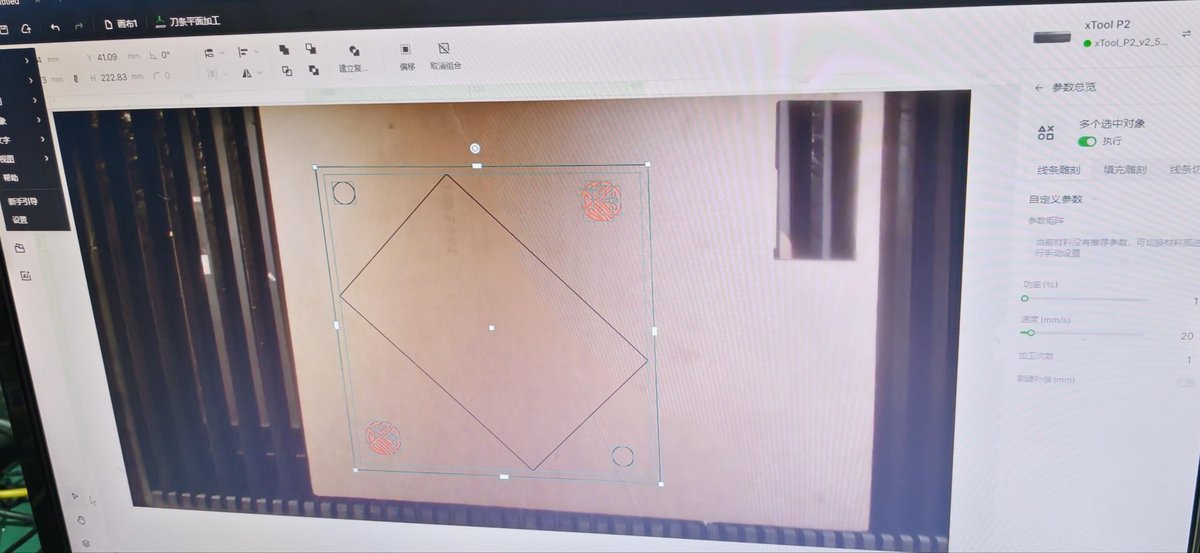
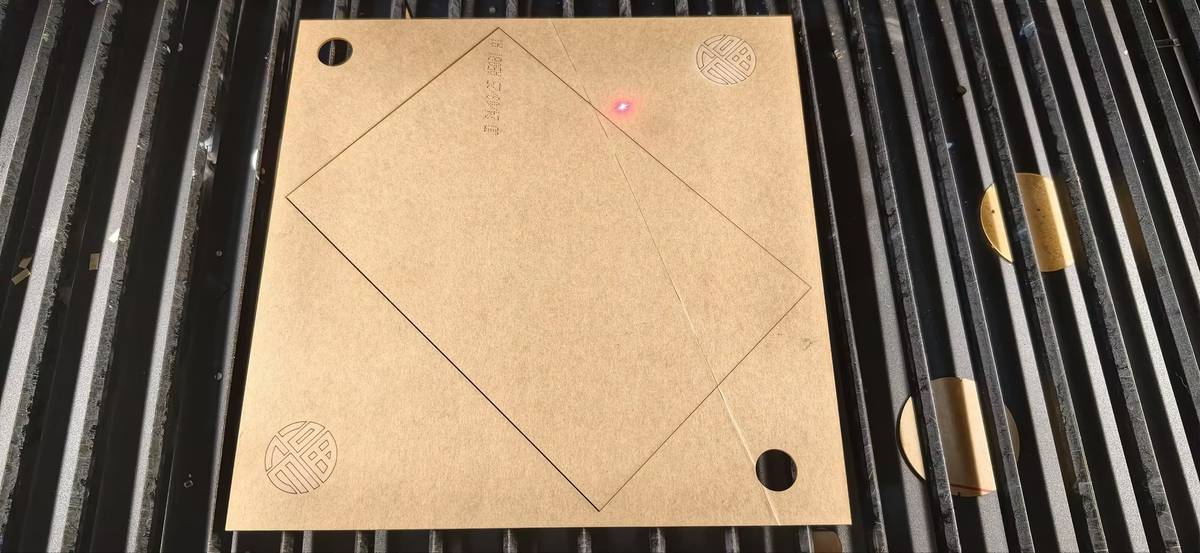
Second Try: Seeed xTool Laser Adjusted: Scaled to 220×220mm (fits 600×300mm bed). Repositioned inner rect away from edges (+10mm margin). Material: 2mm acrylic. Settings: Max 60%, Min 40%, 25 mm/s (acrylic-optimized). Result: Perfect in 20 seconds—smooth edges, full cuts. Limitation: small bed size.
Reflection & Next Steps
What worked: Comb test gave quantifiable kerf (0.15mm avg). xTool excels on thin acrylic. What failed: Thick wood needs >95% power + multiple passes; always add 10–15mm margins. Learned: Parameter tuning is iterative—test scrap first. Facial recognition access = game-changer for late-night prototyping.
Next: Build full box (20mm acrylic), engrave traditional patterns (e.g., cloud motifs), integrate screen/buttons/electronics.